Home ➞ Support ➞ Weaver Steadman
Download system manual Full playlist on YouTube
The basic 2 axis head is modular with a tube frame construction for a lightweight, infinitely adjustable design that supports and balances camera packages up to 100 lbs. It can be mounted upright for conventional use or quickly converted to underslung for situations requiring extreme tilts, low angles or near nodal point configurations.
The 3 axis version combines the 2 axis head with a 3rd axis module, additional tubes and an ergonomic handle. In this configuration, the 3rd axis module is used for TILT and the orginal tilt module controls ROLL, enabling operators to pan, tilt and roll the camera very close to the lens axis. The camera can be rolled while suspended from a jib arm to make moves like skimming along the ground or flying and rolling more than 360° operating from a monitor.
This is a simple and fast setup for dutch angle shots. In this configuration a conventional head is used for pan and tilt. The Weaver Steadman TILT module is then used to provide roll. The roll axis is easily lined up close to the lens axis. This eliminates framing issues created when the camera moves in an arc on a traditional dutch head.
NOTE: Even though the TILT module and DROP BRACKET are shown as seperate items in the videos, they will come assembled in our cases. The 2 axis head will be roughly pre-assembled in the case and the 3 axis unit is in a seperate case as individual components.
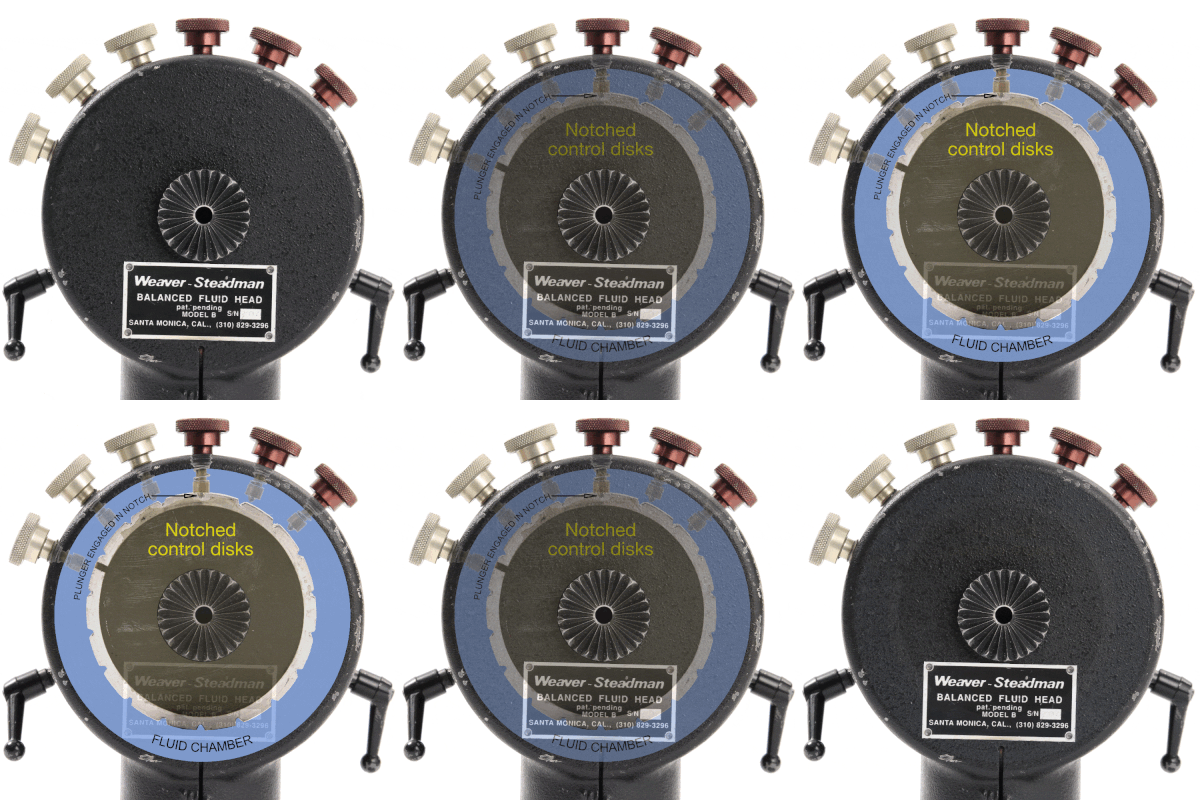
SUMMARY: Knobs are all the way in or all the way out. Here's why...
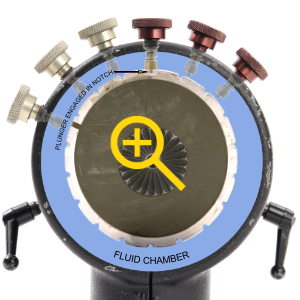
Knurled plunger knobs on the Pan, Tilt and 3rd Axis Modules control drag. Each knob controls an individual disc of fixed resistance. When a knob is screwed all the way into the module, a spring loaded pin comes in contact with the edge of a disc. As the module is rotated you will feel a click when the pin becomes seated in a slot on the disc. This stops the disk from rotating in the fluid housing and increases resistance.
How much drag/tension do you need? The knob closest to the edge of the casting engages the disc with the lightest drag (Usually sufficient for most situations). Very little drag is required to smoothly control the camera when balanced properly. In fact, less drag is more desirable for making smooth starts and stops.
How to do it: To engage a plunger, screw clockwise all the way in, snug but not over tightened. Screwing a knob down harder will not result in more drag. Think of it as ON or OFF. To disengage a knob, make sure it is backed out counter-clockwise all the way (not too tight) to clear the disc. Partially engaged or disengaged knobs will not affect dampening, but will diminish smoothness and impair continuity of movement.
The modular W/S multi axis jib arm system has adjustable fluid tension on all axes. Carbon fiber over aluminum construction using precision robotic bearings allow smooth, free floating camera control. The jib arm can also be assembled without the SECONDARY ARM for a standard jib configuration. Our modified weight bracket uses standard barbell weights on 1" rods.
Home ➞ Support ➞ Top of Page ➞